Converting a Bootable Pendrive Back to Normal: A Guide
Bootable USB drives are incredibly useful tools for installing operating systems, recovering data, and performing various system maintenance tasks. However, once you’re done using a bootable pendrive, you might find yourself wanting to revert it to its normal storage state. In this guide, we will walk you through the process of converting a bootable pendrive back to its regular storage functionality. We’ll cover both Windows and macOS platforms, ensuring that you can reclaim your USB drive for everyday use.
Important Note: This guide assumes that you have already made a backup of any important data on the bootable pendrive. Converting it back to a regular storage device will erase all existing data on it.
Converting a Bootable Pendrive on Windows
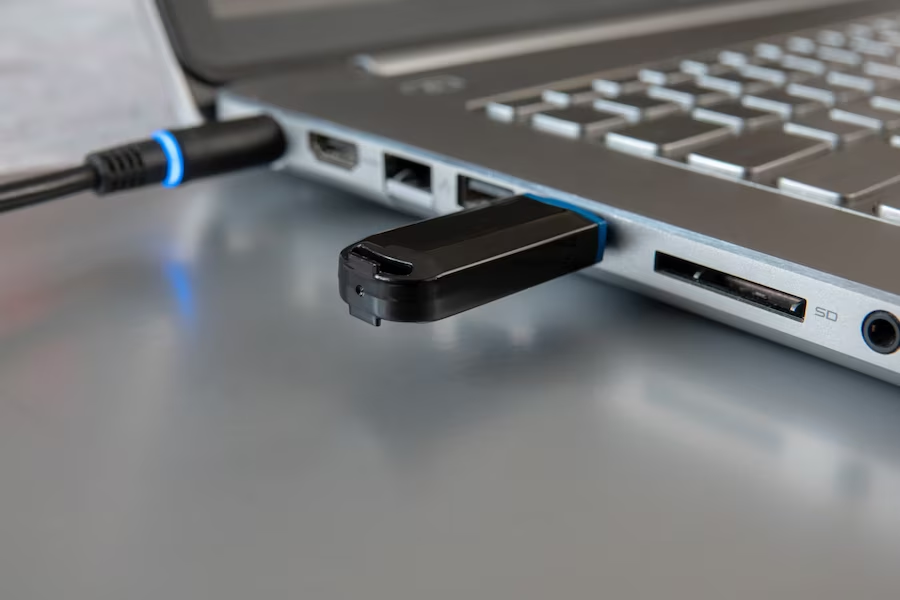
Step 1: Plug in the Pendrive
Get started by inserting your trusty bootable pendrive into an available USB port on your Windows PC. This is the first step towards reshaping its capabilities.
Step 2: Open Disk Management
Unlock the power of Disk Management, your gateway to pendrive transformation. Follow these engaging steps:
- Right-click on the Start menu and select “Disk Management” from the options;
- Within the Disk Management interface, locate your pendrive, often labeled as “Removable” or “USB.”
Step 3: Delete Partitions
Bid farewell to the partitions that define your pendrive’s bootable identity. Embrace the power of bullet lists for clarity:
- Right-click on each partition within the pendrive;
- Choose “Delete Volume” and confidently confirm any prompts;
- Watch as unallocated space emerges, signaling a new beginning.
Step 4: Create a New Partition
Craft a fresh narrative for your pendrive by creating a new partition. Let tables guide you through this stage:
| Action | Instructions |
|---|---|
| Right-click on unallocated space | Select “New Simple Volume” |
| Follow the wizard | Stick to defaults or customize as needed |
Step 5: Format the New Partition
Give life to the new partition with a dash of formatting finesse.
- Right-click on the freshly minted partition;
- Choose “Format” to unveil the formatting options;
- Opt for the NTFS file system, ideal for Windows compatibility;
- Infuse personality by assigning a unique drive name;
- Speed things up with a quick format, balancing efficiency and efficacy.
Step 6: Finalize the Process
As your journey reaches its climax, celebrate the successful transformation of your pendrive. You’ve conquered the intricacies of Disk Management, seamlessly transitioning your bootable pendrive into a multifaceted storage companion once again. The File Explorer awaits your exploration, ready to provide access to the newly reimagined pendrive.
Converting a Bootable Pendrive on macOS

Step 1: Insert the Pendrive
Begin your voyage by inserting your bootable pendrive into a vacant USB port on your Mac. This crucial step serves as the foundation for the upcoming transformation.
Step 2: Launch Disk Utility
Embark on your transformational quest by navigating through macOS’s interface:
- Open “Finder” from the dock, your gateway to the digital realm;
- Progress towards your destination: “Applications” > “Utilities” > “Disk Utility.”
Step 3: Locate the Pendrive
Visualize your pendrive’s metamorphosis as you delve into Disk Utility:
- Within Disk Utility, explore the left-hand panel to locate your bootable pendrive amidst the array of drives;
- It might be represented by its device name or any personalized label you bestowed upon it.
Step 4: Erase the Pendrive
Prepare to wipe the slate clean and usher in a new era for your pendrive:
- Cast your selection upon the bootable pendrive, readying it for transformation;
- Ascend to the top toolbar and click on the “Erase” button, poised to initiate the metamorphic process.
Step 5: Configure Erase Options
Sculpt the pendrive’s rebirth by configuring the erase options with precision and care.
- Bestow upon the pendrive a name that resonates with its new identity under the “Name” field;
- Select the desired format, with exFAT emerging as the recommended choice for seamless compatibility between macOS and Windows environments;
- Choose the GUID Partition Map scheme, the foundation upon which your pendrive’s fresh identity will be built;
- Embrace the moment and click the “Erase” button, heralding the initiation of this transformative journey.
Step 6: Finalize the Process
As your journey reaches its zenith, take a moment to absorb the marvel of your pendrive’s rejuvenation. With the erasing process now complete, your bootable pendrive has gracefully transitioned back into a regular storage marvel. Its transformation is unveiled as it graces your desktop and nestles itself within Finder, ready to serve as a versatile companion for your storage needs.
Conclusion
Converting a bootable pendrive back to its normal storage state is a straightforward process that allows you to reclaim your USB drive for everyday use. Whether you’re on a Windows PC or a macOS system, the steps provided in this guide will help you transform your bootable pendrive into a regular storage device. Remember to back up any important data before starting the conversion process.
For better understanding, you can also refer to this video tutorial:
With this guide at your disposal, you can confidently repurpose your bootable pendrive whenever the need arises.
FAQ
Yes, converting a bootable pendrive back to normal will erase all existing data on the drive. Ensure that you have made a backup before proceeding.
Yes, you can create a bootable pendrive again by using appropriate software and following the steps for creating a bootable drive.
Try using a different USB port or restarting your computer. If the issue persists, the drive might have a hardware problem.
Yes, by formatting the pendrive as exFAT, you can use it on both Windows and macOS systems without any compatibility issues.

